CNC
Design
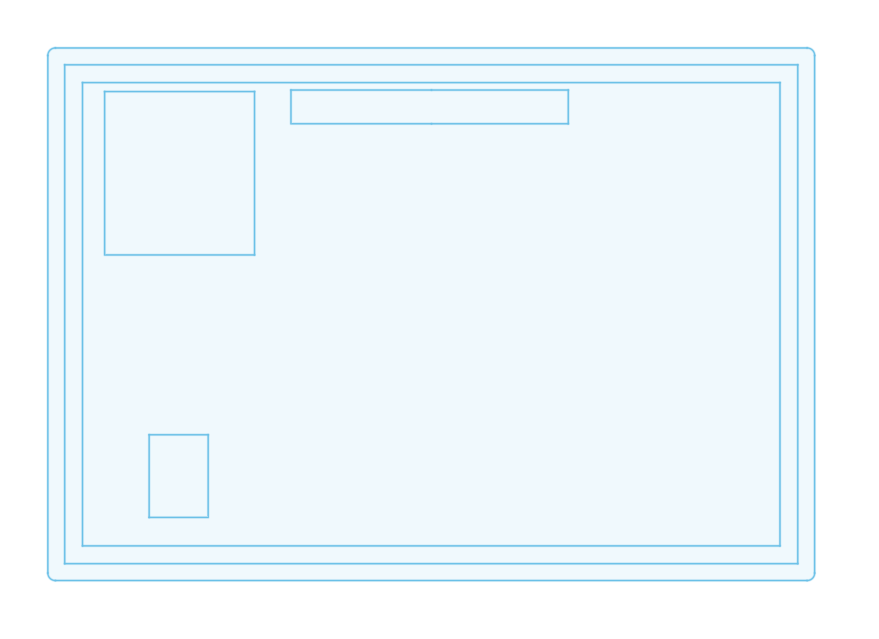
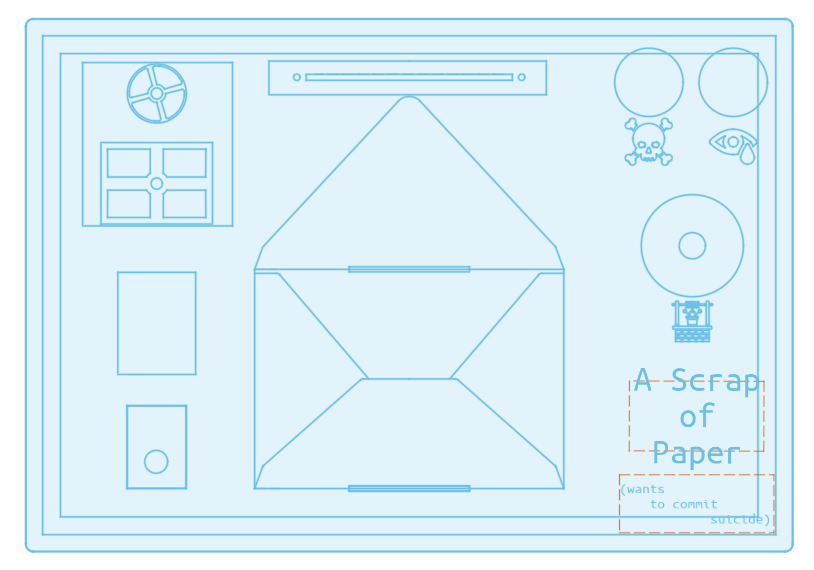
For my final project I knew I would have a box conatinaing all the electronics. Since all of the sensors involved would have to be accesible to the user, they would have to be mounted to the top of the box (but from the underside), which we can call the "gameboard." I wanted gameboard to be easily removable, however, in case the thermal printer should need paper, or anything should need repair. I therefore did not want the gameboard to be fixed in any way to the body of the box. And since there was virtually no movement involved, I opted to simply route a groove along the perimeter of the underside of the gameboard, in which the box edges would rest. Certain components (i.e., toggle switch, phototransistors, slide potentiometer) to be mounted there also had to have their footprint inlayed so their sensors or user-facing parts would reach the surface of the gameboard. The gameboard had already been laser cut and you shall soon see that it was a very lucky thing that I did not try to CNC the top of the gameboard.
DXF File. CRV File. ShopBot File.
Routing
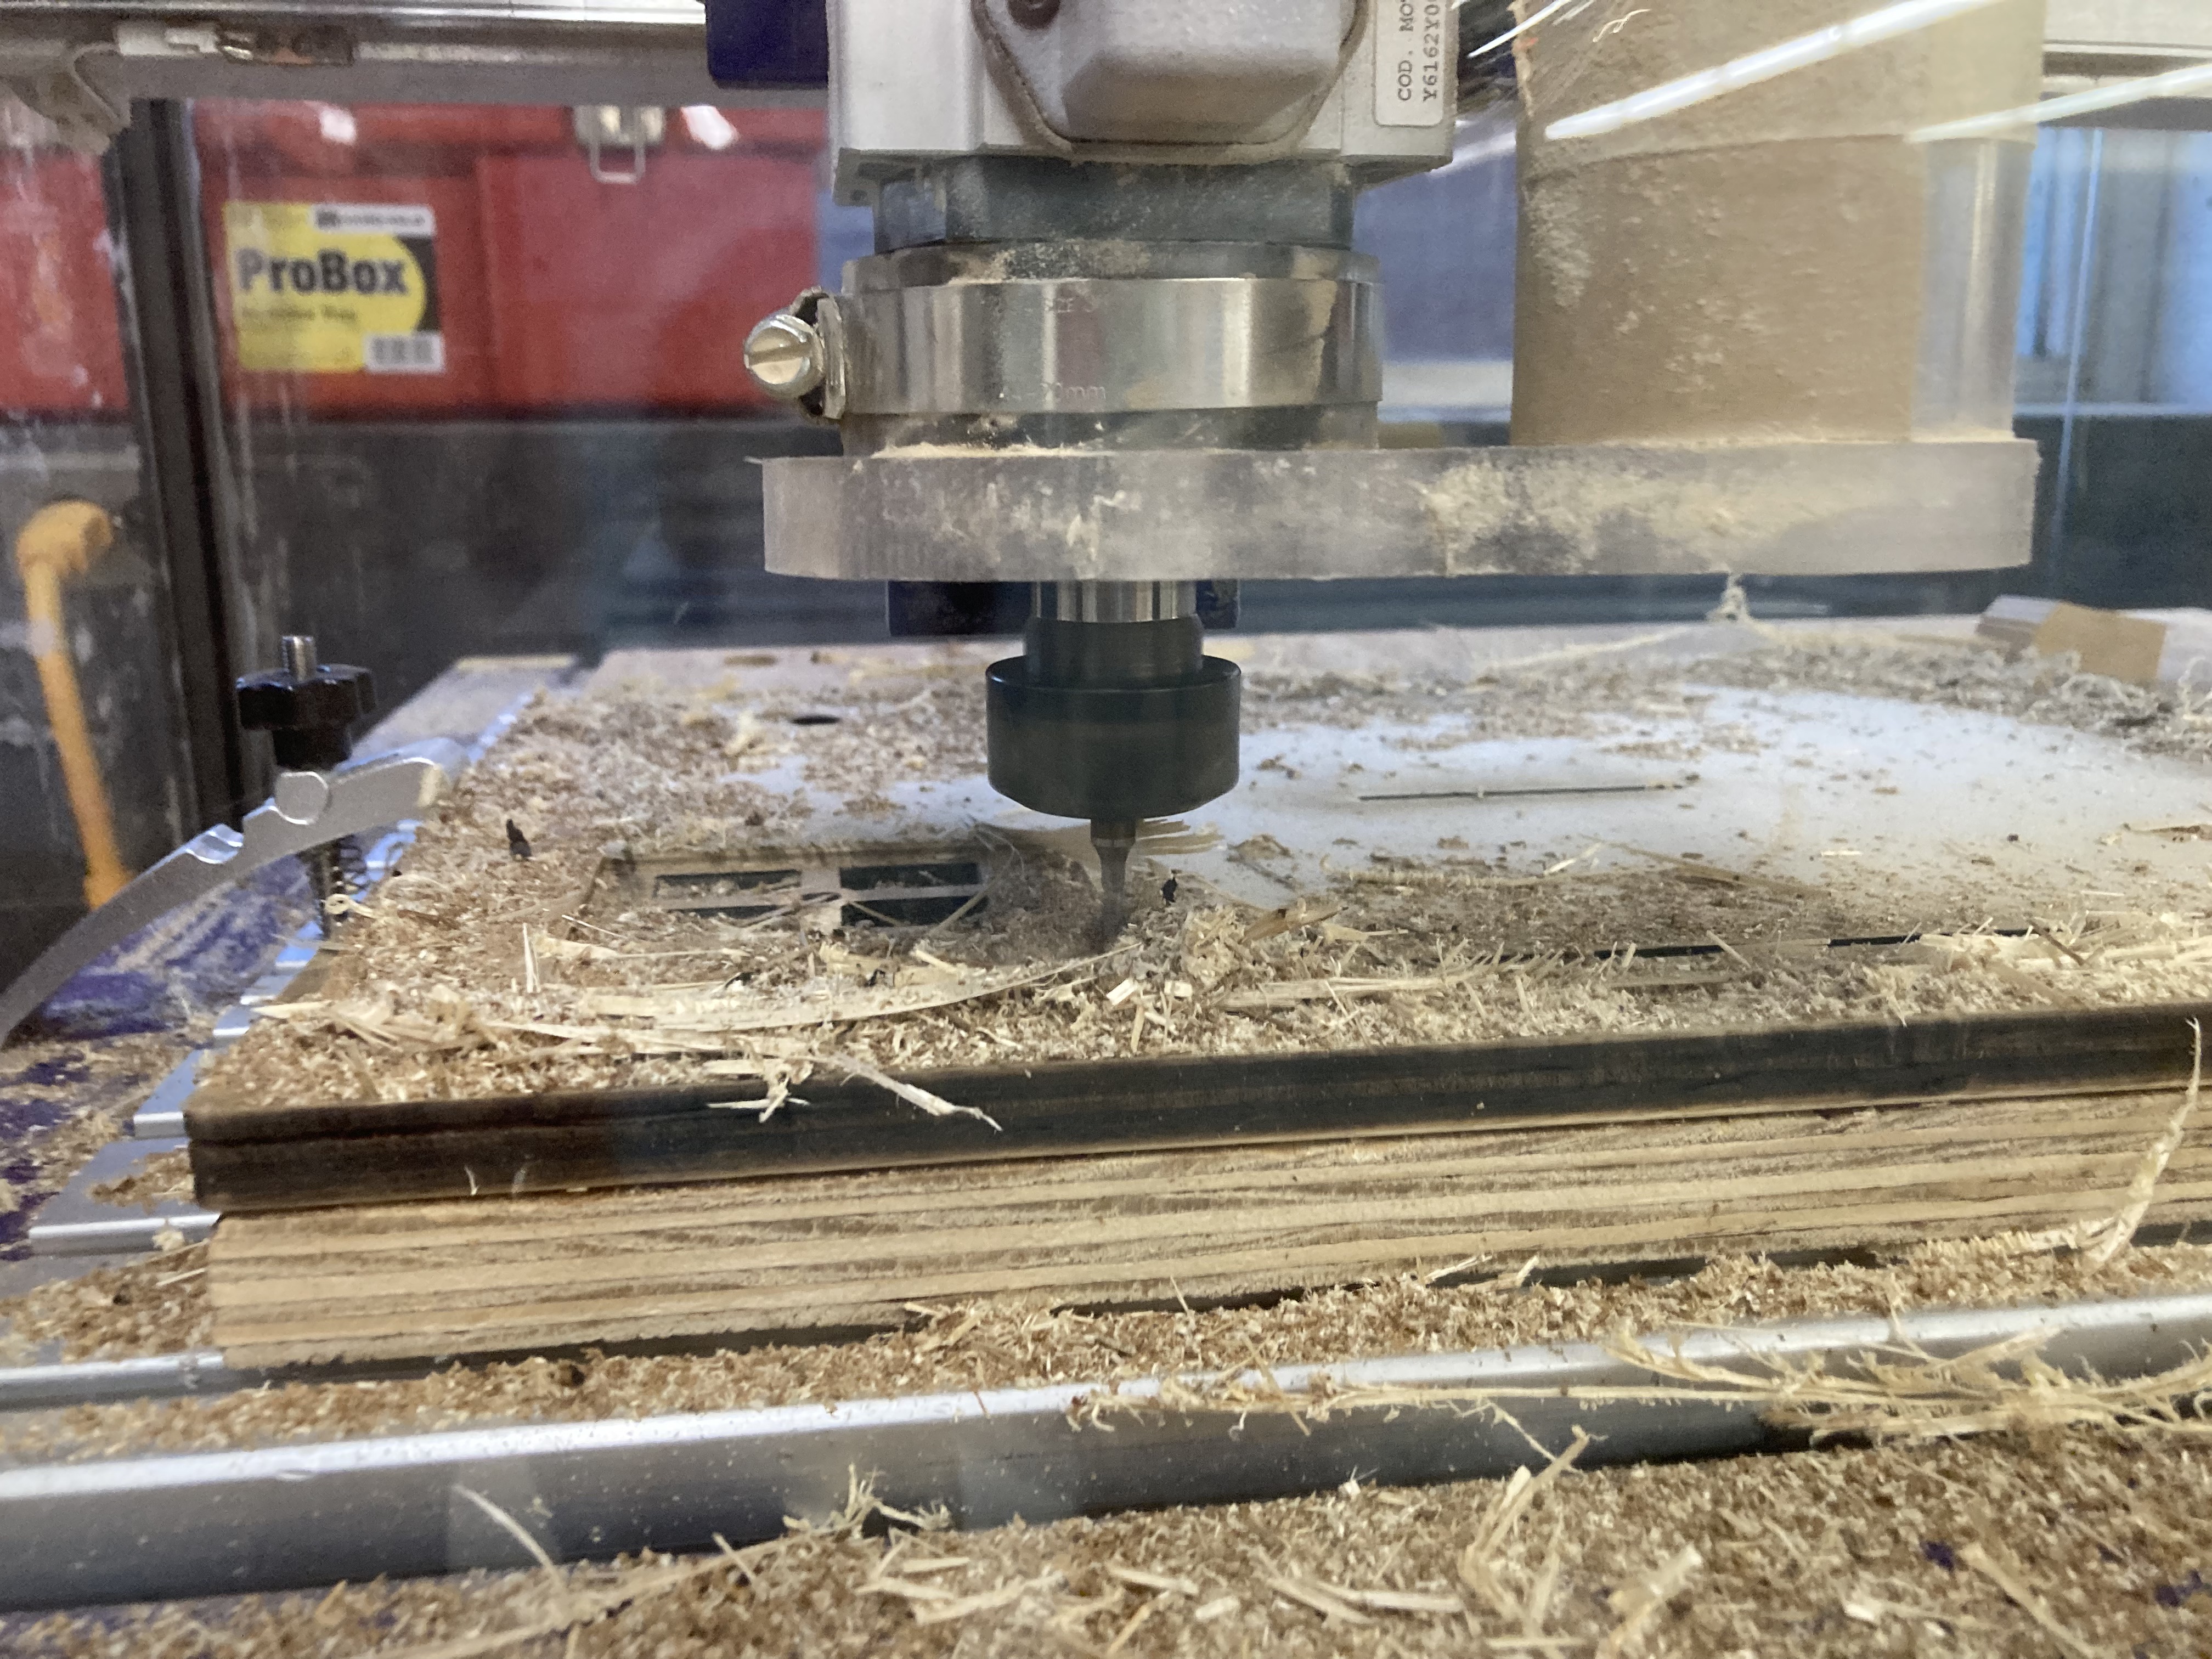
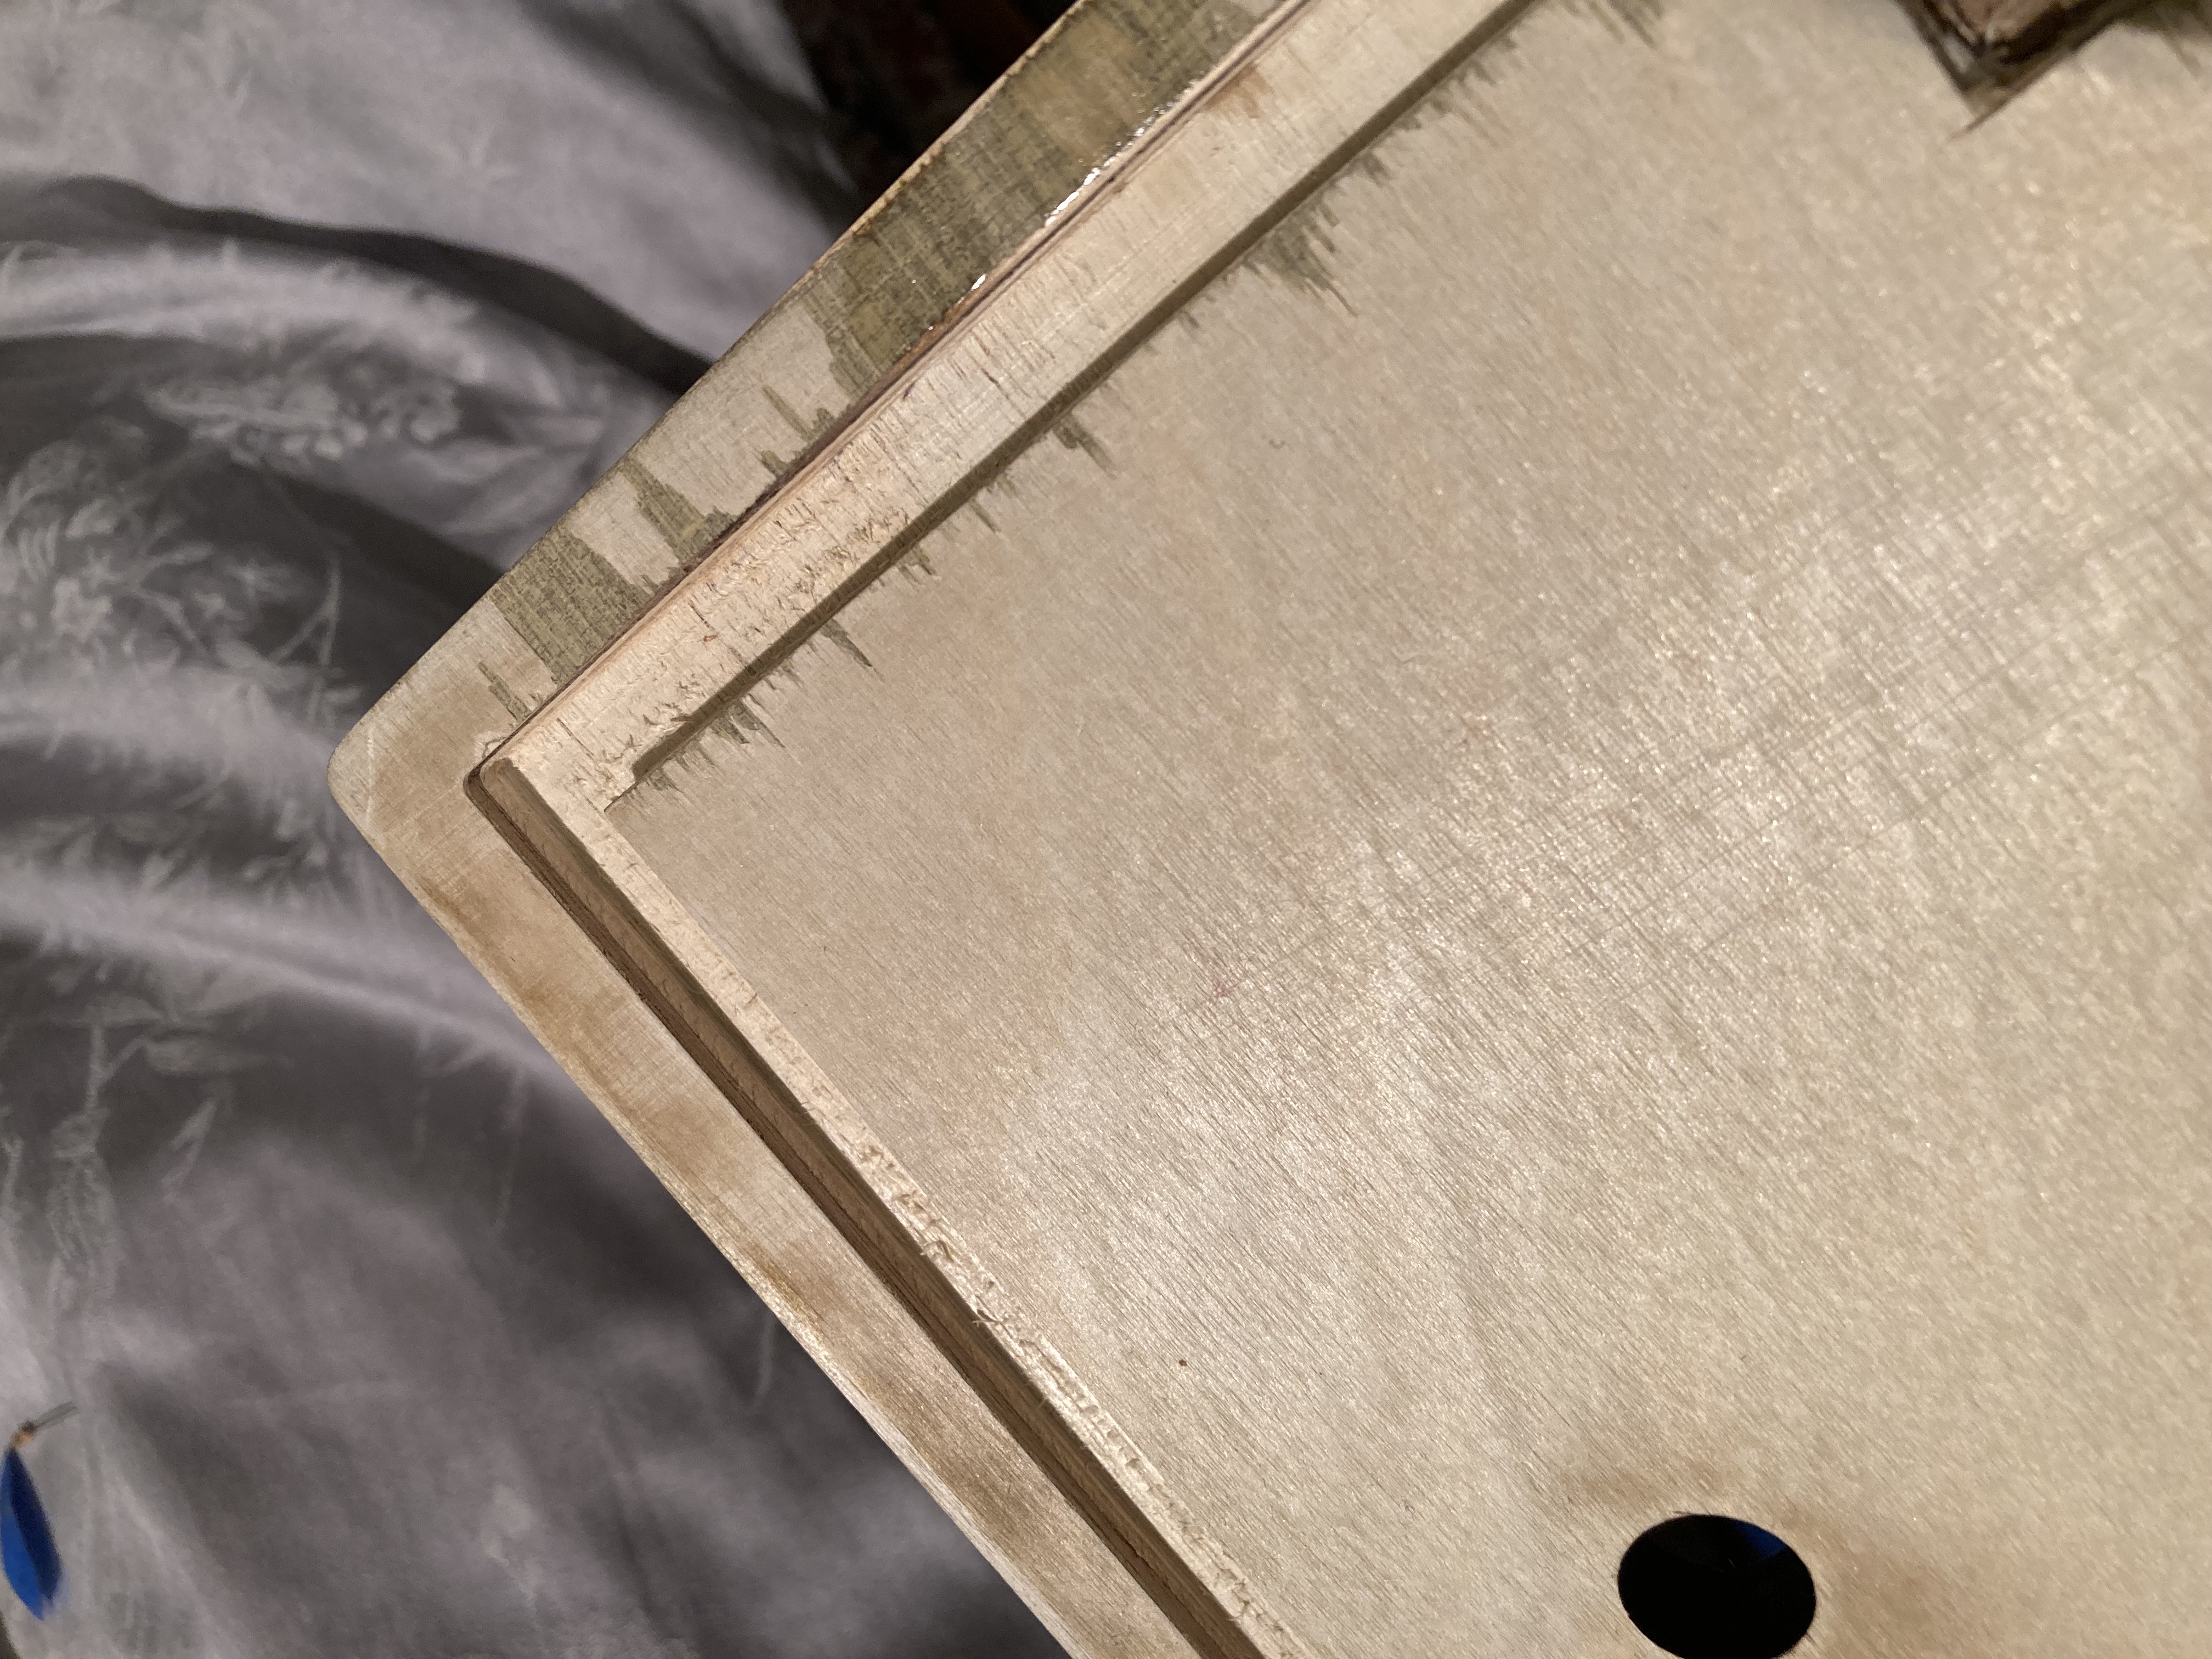
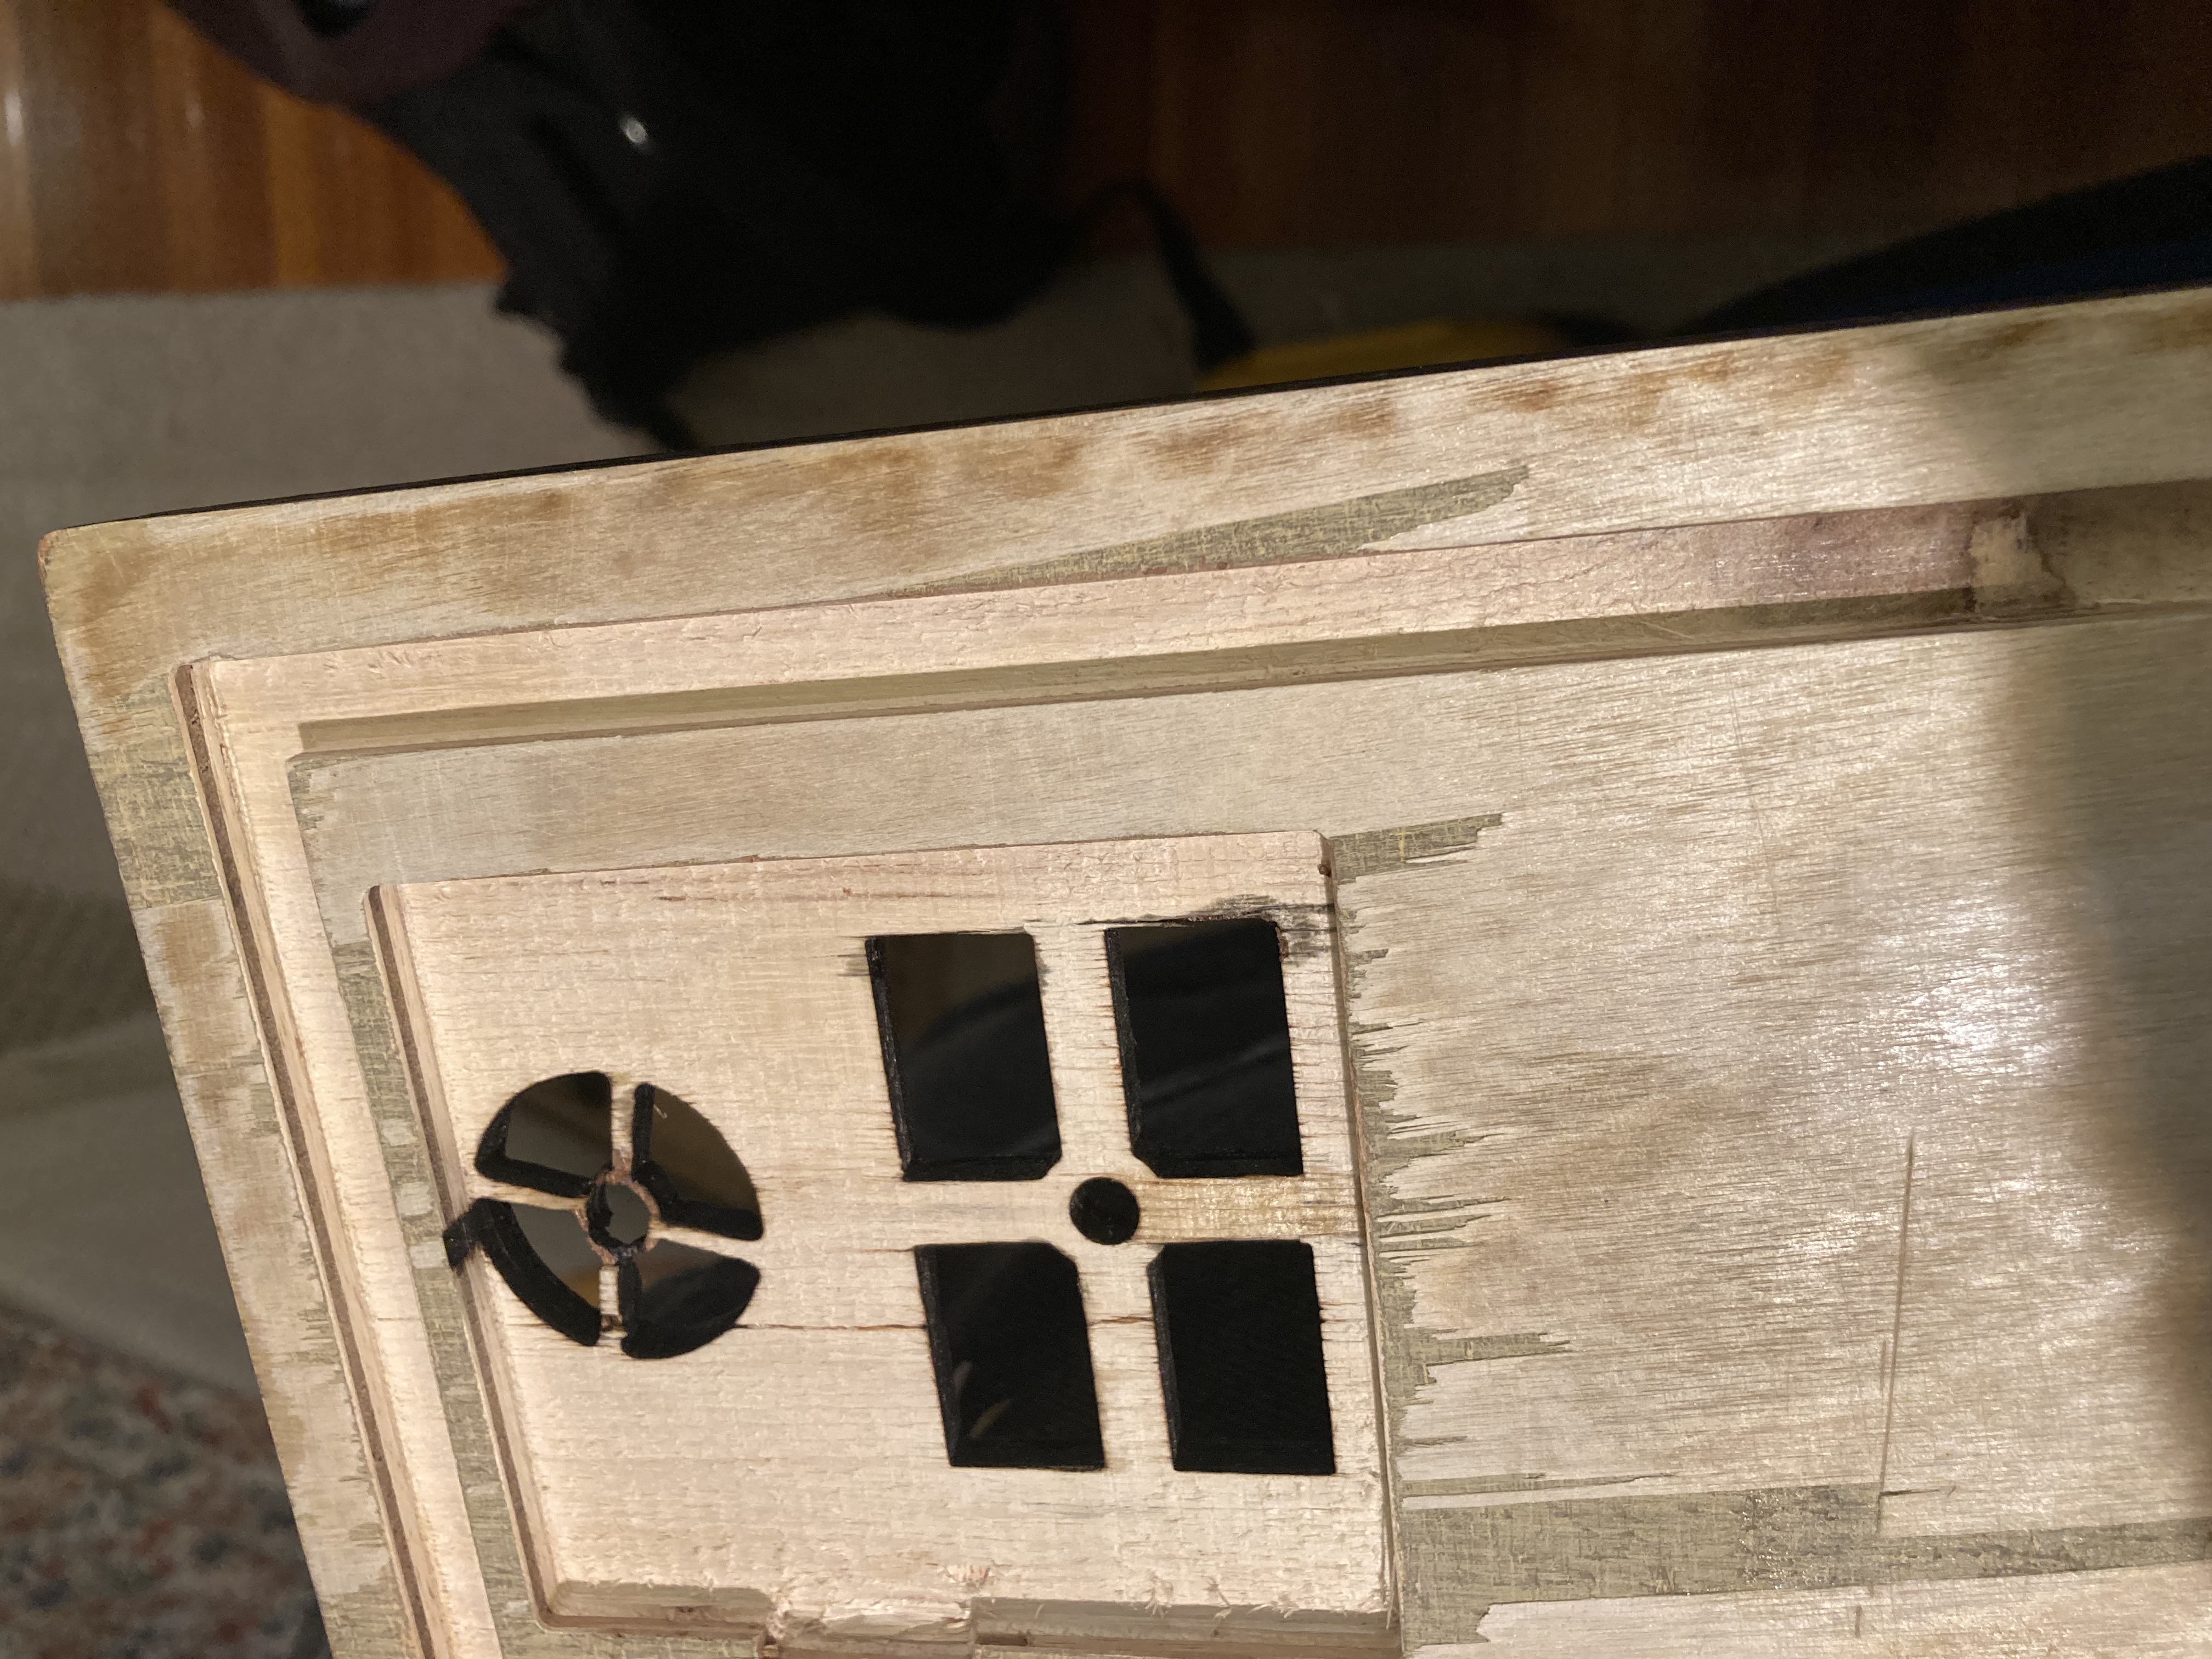
Apparently, the CNC does not like cheap plywood. It ripped up the board as you can tell in the following images. But it got the job done and no serious damage done. I decided to chisel the top side of the gameboard by hand though.
Molding
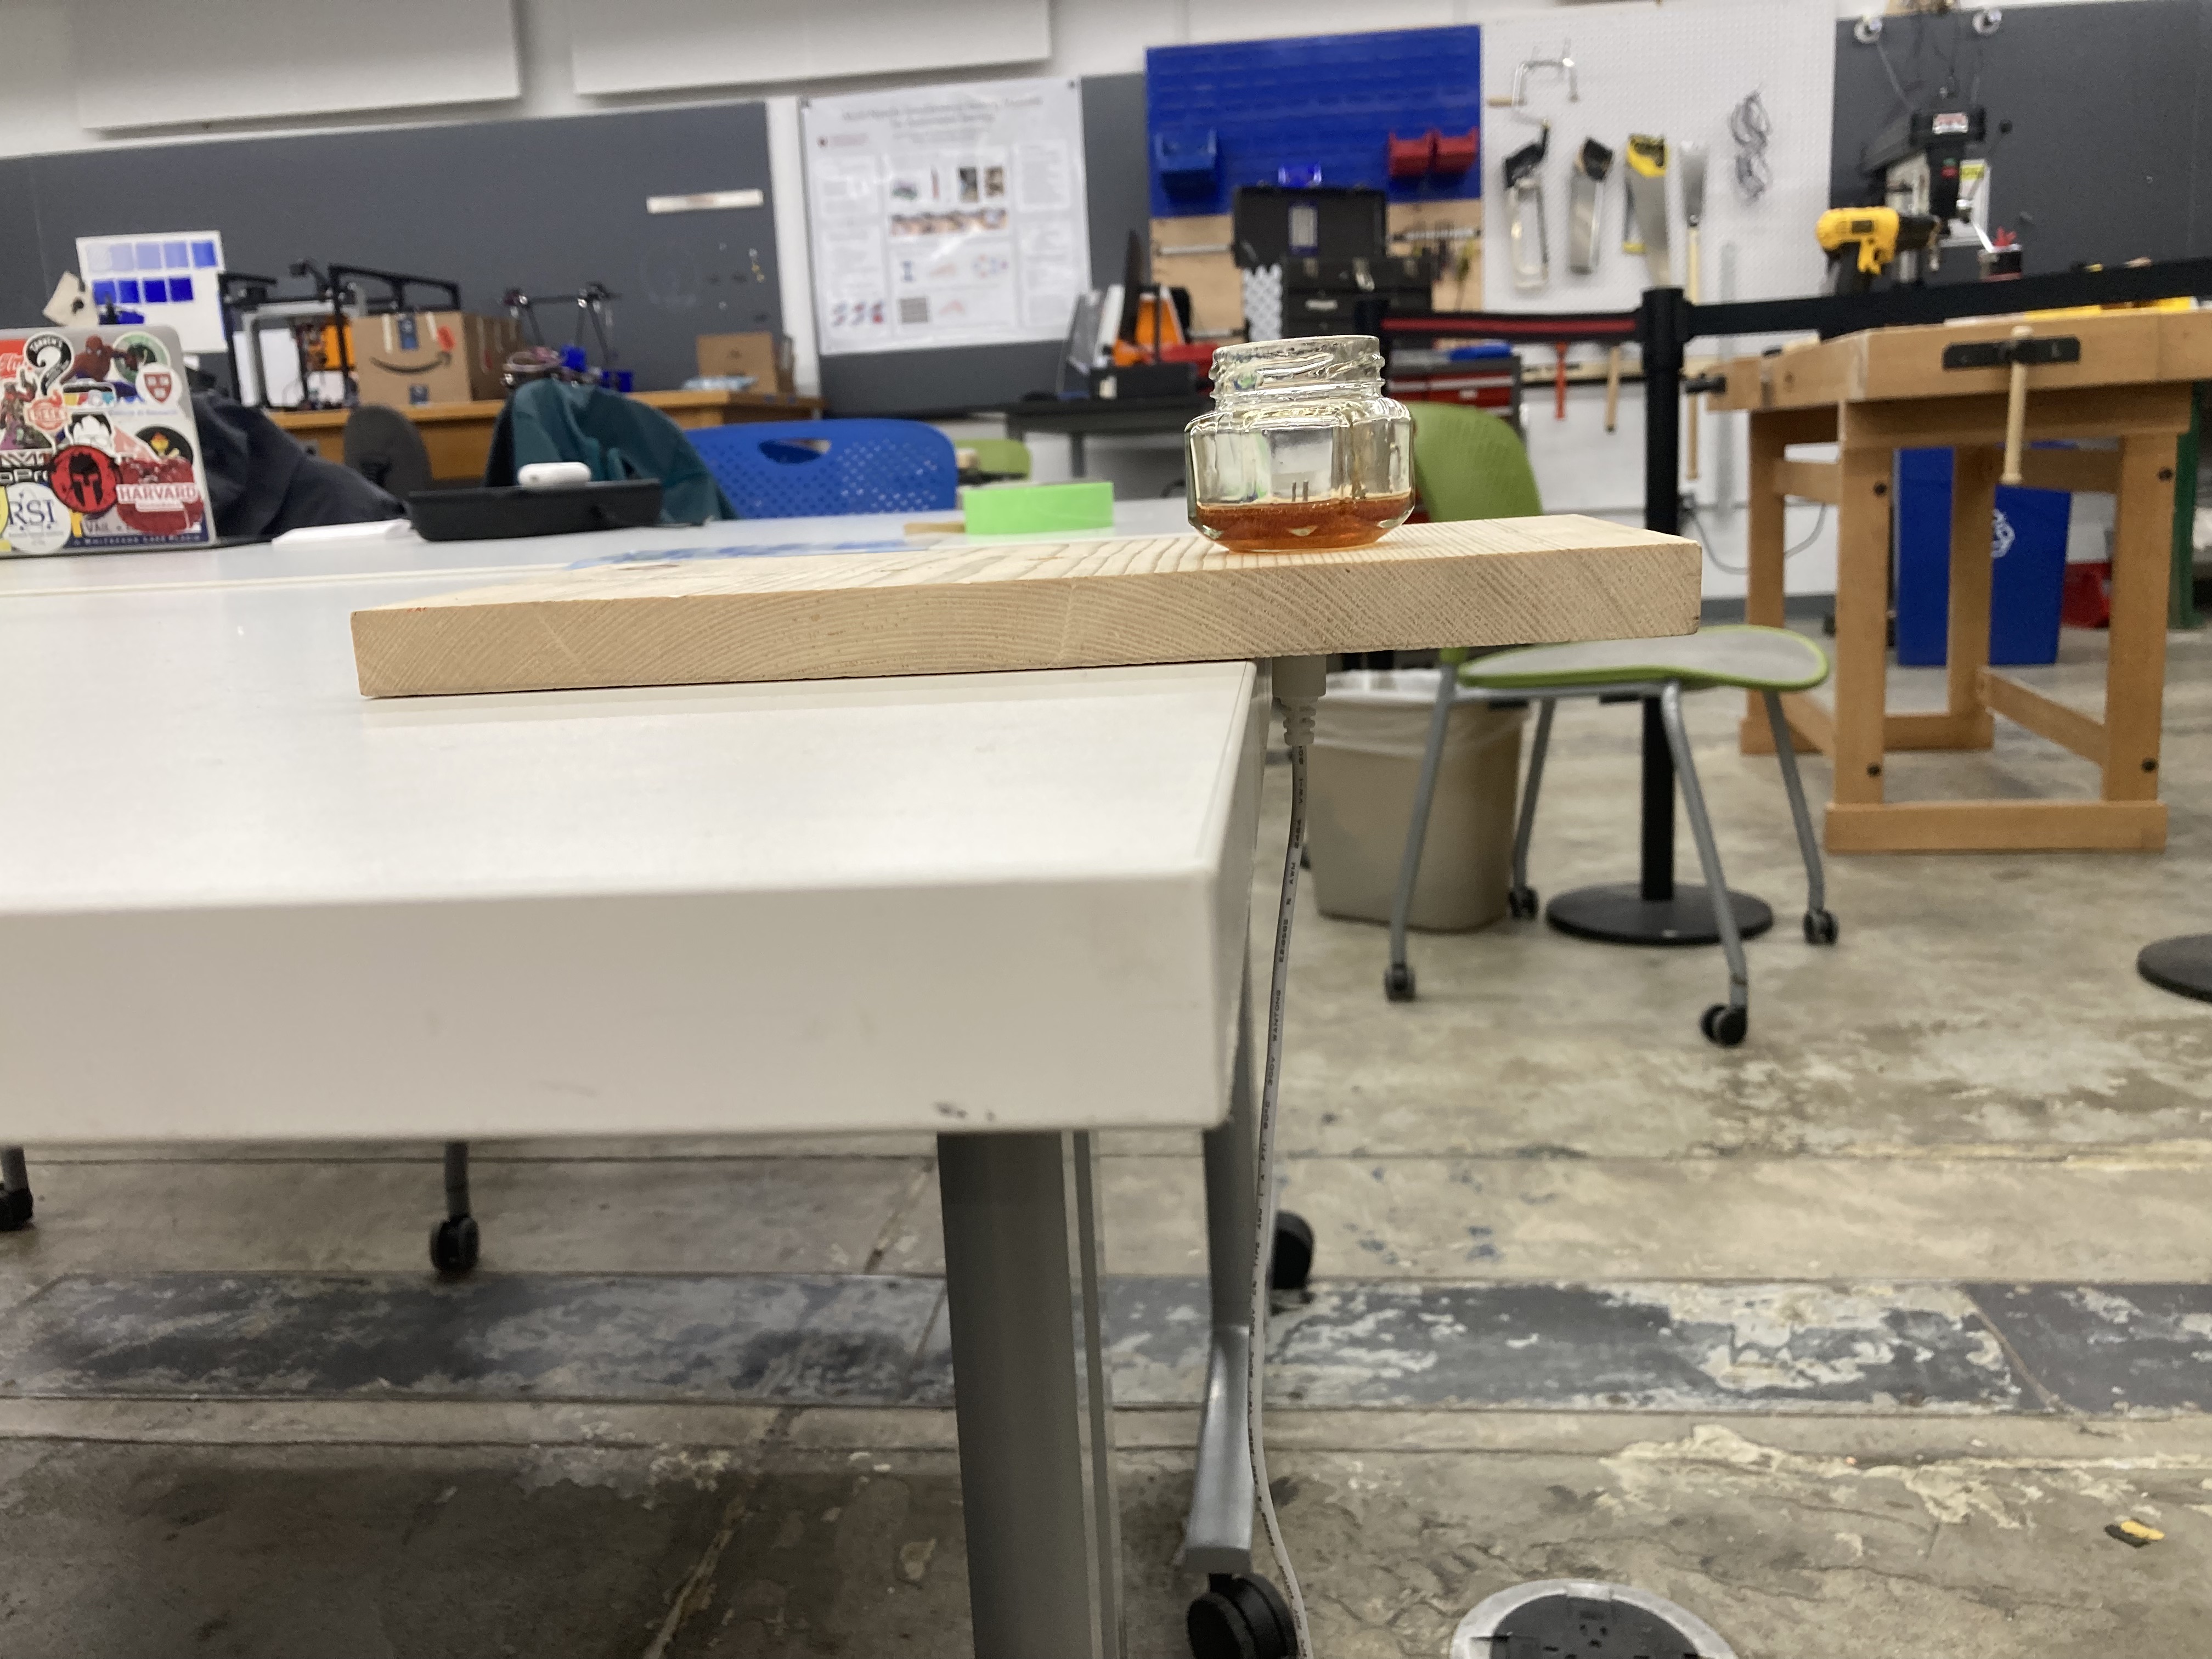
There was nothing to mold on the gameboard and I couldn't think of anything to mold at all, so instead of molding I worked on the "well." The "well" had to be some kind of vessel that would contain saline solutions poured into it by the user. Simple enough. But it also had to hold the water quality sensor, as I did not want it simply dangling over the lip of the vessel. My original hope was to have some kind of container that would have the sensor facing upwards, but with a slow drainage hole beside it, so "tears" or "poison" could leave and thus be added once again by the user. This liquid hourglass proved too complicated. I bought a small glass jar, drilled a hole in the bottom using a 1/4 glass/ceramic drill bit, inserted the water sensor (which has a 1/4 OD on the first layer of housing), added a touch of super glue on the outer entry point just to hold it in place temporarily, mixed up some liquid silcone and poured it in just up to the level of the electrodes (the two metal probes coming out of the plastic housing). I let this cure overnight in this contraption: